Glase payment in a Webshop
If your webshop is based on an eCommerce platform check our eCommerce plugin page.
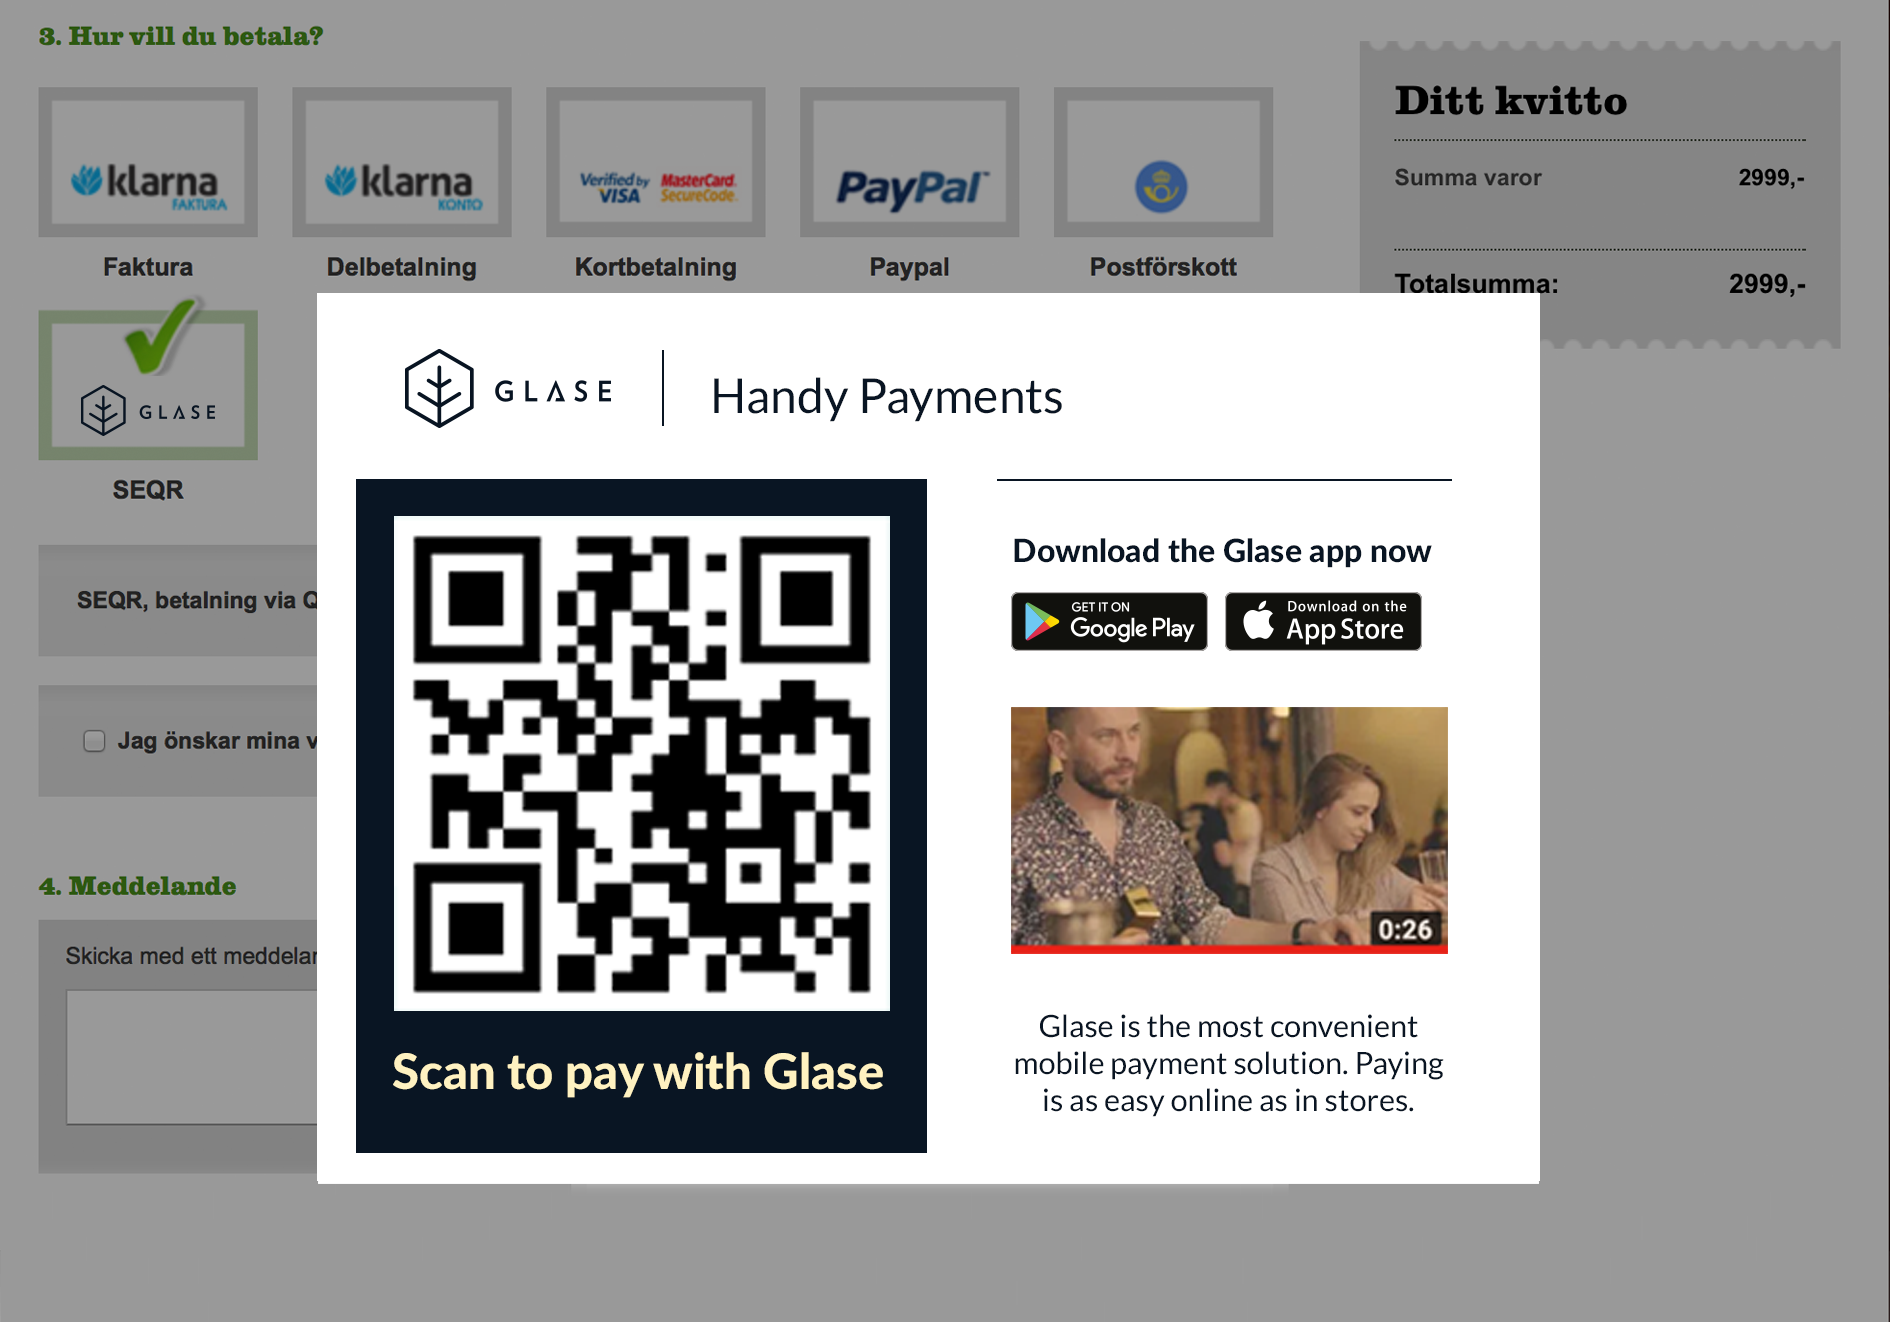
To integrate your webshop with Glase, you need to add Glase payment in your “Check out” process where your customer normally selects between payment methods. This is an example of a checkout that supports Glase:
Integration procedure
Follow these steps to integrate your webshop with Glase:
- Implement the required methods.
- Add Glase as payment in your webshop.
- Present the receipt.
- Verify your integration.
- Go live!
Implement the required methods
The flow for a webshop Glase payment is very similar to Basic Glase payment, with the sendInvoice request. The difference is that polling for payment status is handled by a payment view, which also handles showing the QR code to the Glase user. You still need to request the status of the payment after the payment view returns, but only once to find out the final status of the invoice.
The methods required in a basic integration are:
| Method | Description |
|---|---|
| sendInvoice | Sends an invoice to Glase server |
| getPaymentStatus | Obtains status of a previously submitted invoice |
| refundPayment | Refunds a previous payment, partly or the whole sum |
For an extended integration, also these methods can be used:
| Method | Description |
|---|---|
| updateInvoice | Updates an already sent invoice with new set of invoice rows or attributes |
| cancelInvoice | Cancels an unpaid invoice. Can be triggered after defined timeout |
| markTransactionPeriod | Marks the end of one and the beginning of a new transaction period; used in reporting |
| executeReport | Executes a report on Glase server |
Refer to section API for detailed description.
Add Glase as payment in your webshop
1. Send the invoice
Start by creating an invoice and sending it to the Glase server using sendInvoice.
Tip: Have a look at our example webshop api to see how sendInvoice or getPaymentStatus using PHP.
2. Get payment status
Use the sendInvoice response to present a QR code. For mobile browsers (e.g. on smartphones) make a redirection (button, link or clickable QRCode) in your webshop, which launches the Glase app, using the QR code URL returned from the sendInvoice request: Replace the “HTTP:” header with “seqr:” that is, if sendInvoice returns HTTP://SEQR.SE/R12345, the button/link should instead use seqr://SEQR.SE/R12345. The reason for that is that you can’t scan QRCode from page that is being browsed on your phone using the same phone.
Tip: To easily add a QR code or button you can use our webshop plugin.
3. Poll payment status
Once the payment is completed, your webshop should query the status of the invoice from Glase by calling getPaymentStatus. On a mobile browser, this request is triggered by the user leaving Glase app and returning to the webshop app, but if the user does not return to the webshop app, then the payment will be canceled (see also the Note below). To avoid this, a notificationURL can be implemented; for more information see the webshop plugin referred to below as well as the use case below: Use Case 2: Glase payment using mobile browser.
Note! The web server must check the status each second, to verify that payment is completed. Otherwise Glase server does not receive any notification that transaction is finalized and the payment will then be reversed (canceled)! This request should be triggered from a javascript timer on the website, so when Glase user closes the window or moves away from the payment page, the polling stops. Another benefit is that you do not need to have a polling-loop on your backend, which will improve your webshop’s server performance.
Tip: You can skip polling if you are using our webshop plugin.
Present the receipt
If the invoice was successfully paid, a reference number (ersReference) is obtained from Glase. Save the reference number for follow-ups and for print on the Glase user’s online confirmation receipt.
Verify your integration
Verify that your integration works and run validation tests towards Glase servers. Contact Glase for more information.
Go live!
To go live with your integration, contact Glase to get certified.
Examples
Visit https://extdev.seqr.com/seqr-webshop-sample/ to try the sample webshop.
The source code for sample webshop can be found at https://github.com/SeamlessDistribution/seqr-webshop-sample.
The source code for the REST calls in the sample webshop can be found at https://github.com/SeamlessDistribution/seqr-webshop-api.
The source code for the webshop plugin can be found at https://github.com/SeamlessDistribution/seqr-webshop-plugin.
Common use cases
Use Case 1: Glase payment using browser
Step 9. sendInvoice
The notificationUrl parameter is optional. It should contain a session id or token that enables the web server to map payment status back to a customer’s session in step 31.
Step 11. Checkout page with QR code
The QR code is using the following URL: HTTP://SEQR.SE/R[Invoice Reference]
Step 12. GET /seqr/status
At this point the browser should start waiting for a payment status update. Ideally the browser should open a websocket over which it can receive the update. If websockets are not available a fallback to polling is required.
Step 29. getPaymentStatus
Payment status must be called immediately when the notificationUrl is called. Failing to call payment status will cause the payment to be cancelled, resulting in an SMS being sent to the customer.
Step 31. Payment done
The customer’s session must be updated with the payment status from step 30. This payment status is returned to the web browser using the mechanism from step 12.
Use Case 2: Glase payment using mobile browser
Step 9. sendInvoice
A backURL parameter is optional. If it is provided the Glase application will load the URL in a browser when the customer has confirmed payment (step 27).
Step 23. getPaymentStatus
Payment status must be called immediately when the notificationUrl is called. Failing to call payment status will cause the payment to be cancelled, resulting in an SMS being sent to the customer. The response in step 24 should be stored in the customer’s session so that it can be displayed in the page that the backURL loads in step 28.
Step 27. Open backURL
This step is only triggered if a backURL was provided in the call to sendInvoice (step 9).